Back to the Active Ash/Maple Jazz Bass. [You will find some context in this post referenced from Part 1 and Part 2]
While I was doing research about active bass preamps, concentric potentiometer values, split coil vs dual inline coil vs single coil pickups and other geek stuff I stumbled upon John East Bass preamps – East-UK. The features and design of his UNI-PRE was instantly impressive. So impressive I ordered one directly from John in Oxford, England. The experience dealing with John was pleasant, and he was very helpful. You must understand the UNI-PRE IS NOT designed to fit a Jazz Bass.
The original active preamp installed from the factory was pretty large so the cavity in the bass was pretty roomy I thought.
The UNI-PRE is a modular design intended for basses with rear cavity access, NOT a J-Bass. Because the original preamp installed by Fender was so big, and the cavity seemed like the plate wouldn’t cover it if it were any larger I decided to take a chance. I thought if necessary I could rearrange the order of the controls on the control plate so the largest circuitboard would go under the pic guard like the original. John East was very helpful and agreed that it could possibly fit after I emailed him a few pictures and asked his thoughts.


Unboxing the UNI-PRE 

Configured for drop-in zero-modification install
The build on the John East UNI-PRE is very well thought out. I won’t get into the details, but you have the ability to really dial in your controls. And the modular design is very clean with all cables being bundled in a way as to eliminate excess length. East-UK delivered and carefully presented a product wonderfully designed. I think this thing is amazing!
The arrangement I had to ultimately use was to swap the placement of the volume/blend knob and the treble/bass knob. The main EQ board is the largest in the modular design so it needed the most room. I tried putting the UNI-PRE with the volume at the top of the control plate but there was just not enough room. It seemed really close until I tried to install it. The circuitboard didn’t stick out as much, but it was pointing the wrong way.

How I wanted to install the UNI-PRE 
How I HAD to install the UNI-PRE

Original Fender active preamp 

Original Preamp
When I rearranged the order of the knobs to have the volume knob second in line on the control plate, it dropped in the bass like it was made for it. It seems to fit even better and with more room than the Fender original. I can get used to to volume knob not being in the right place. Can’t I? It won’t be that big of a deal…Right?

By the way. The knobs themselves feel amazing!!! 
Playing the UNI-PRE is a dream. Sooooo many tones and enormous control! There is a [passive]tone control knob in BOTH active and passive mode. I love this feature because it lets me dial out the “harshness” that sometimes comes out depending on how much finger/attack or treble I wish to hear. It just smooths everything out. Also the ability to VARIABLY sweep the mid frequency was pretty much the feature that impressed me most. Completely variable, not one or two frequencies to pick from. Awesome to be able to have that control directly from the bass! And for some reason this bass sounds better than it ever did in passive mode over the original Fender preamp. Bonus!
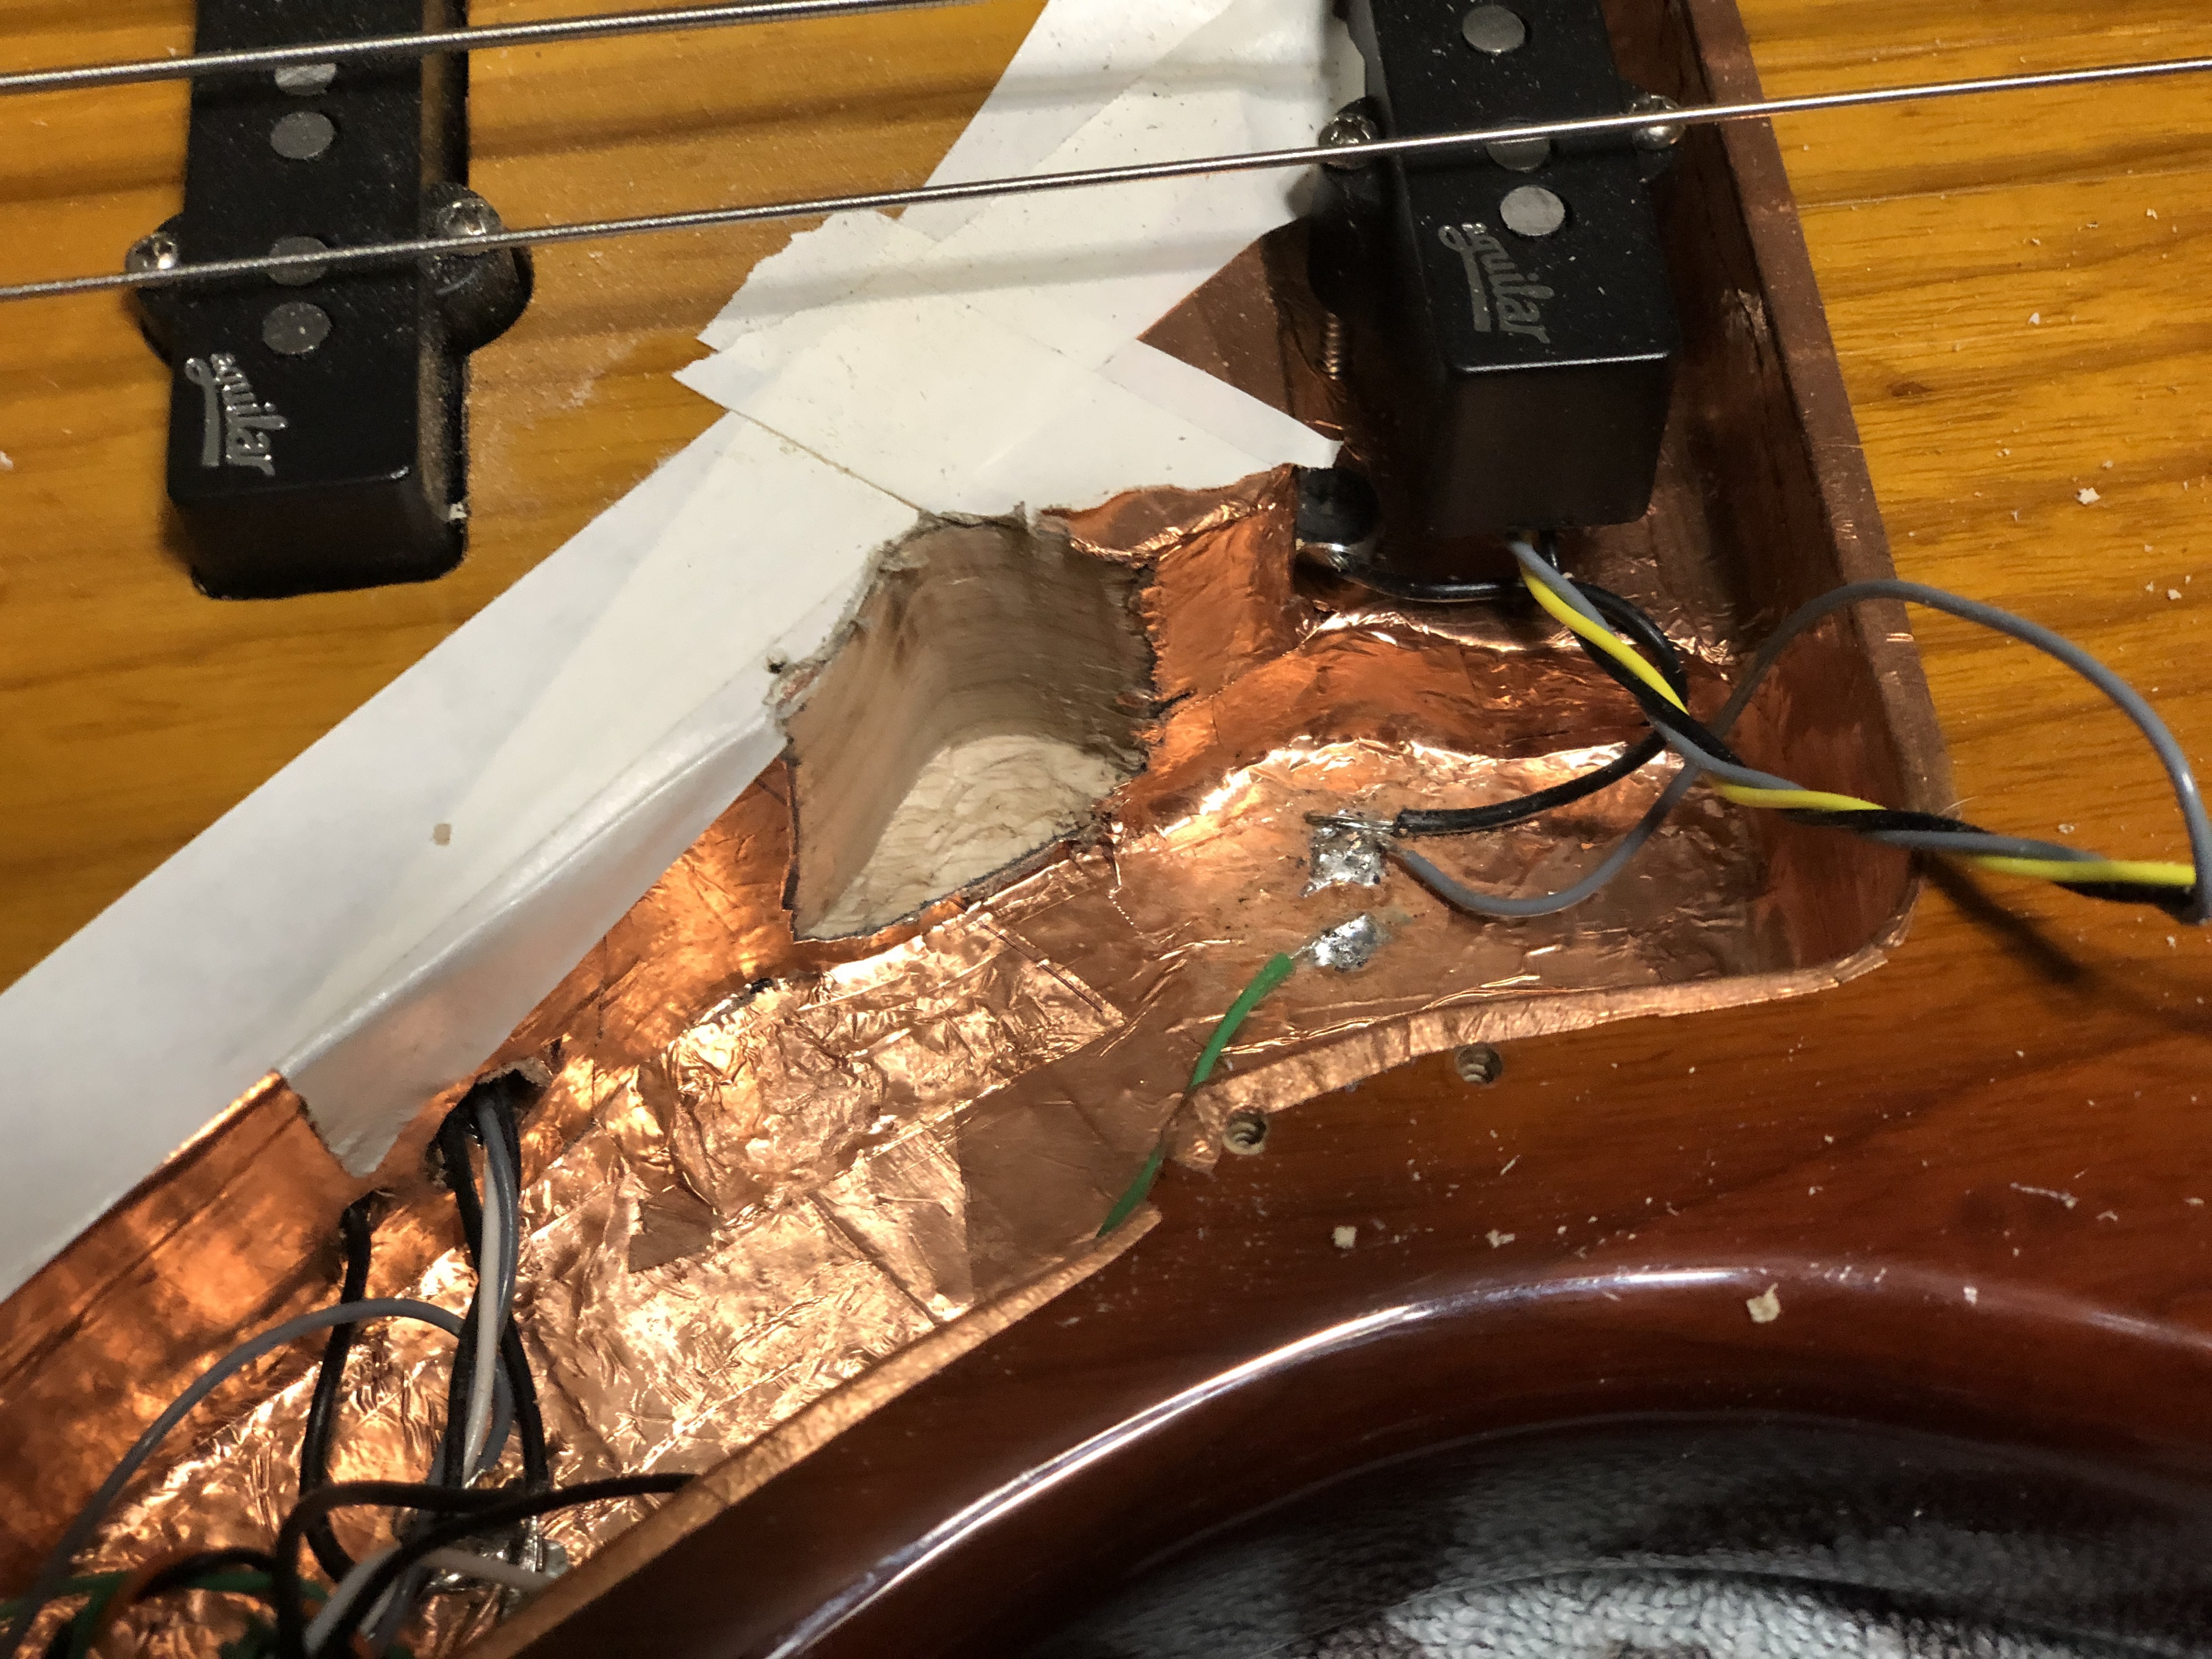
Well…I played the bass for about a week or two and yes, I had to keep reminding myself where the volume was, and where the EQ was. And the volume being between – separating the Bass/Trebble and Mid pots was weird as well. I had the Dremel tool out to remove a small amount of material to make room for a toggle switch on a different Jazz Bass project (Part 2) I was working on and it cut so well that I decided to commit to modifying this bass to accept the East-UK UNI-PRE with the traditional intended knob placement.
Here we go!
After some careful routing by hand and frequently vacuuming the dust away it was time to check fit, and then repair my shielding. Making sure all the ribbon cables were routed in a way that they didn’t put pressure on any of the UNI-PRE components was also important to get everything to fit without binding.
It took some work and a lot of patience, but I am glad I did the modification and am extremely pleased with the results. Now muscle memory goes to the correct volume knob because its where it’s supposed to be!
I could go on about the East-UK UNI-PRE and what I like or don’t like about it and perhaps I will in a future post. There was also some pickup changes, and string changes done during all this preamp swapping so that will have to be another post some day as well. My biggest regret is that I didn’t make audio recordings of everything along the way for reference.

Stay Tuned…


