

So if you read Part 1 you know I’m working on two basses simultaneously, more or less. This post refers to the Passive Jazz Bass (Alder/Rosewood). This particular bass has Fender S1 switching (making it also somewhat unique), which essentially turns the two single-coil pickups into one hum-canceling (or Humbucker) pickup. Because of the 60Hz noise common with all single coil pickups, especially if the pickups are not at equal volume, I always played this bass in S1 (pickups in series not parallel wiring), making the controls one volume and one tone (no blending pickups). The bass sounded good enough but not much tone shaping there without being able to blend pickups or an EQ.
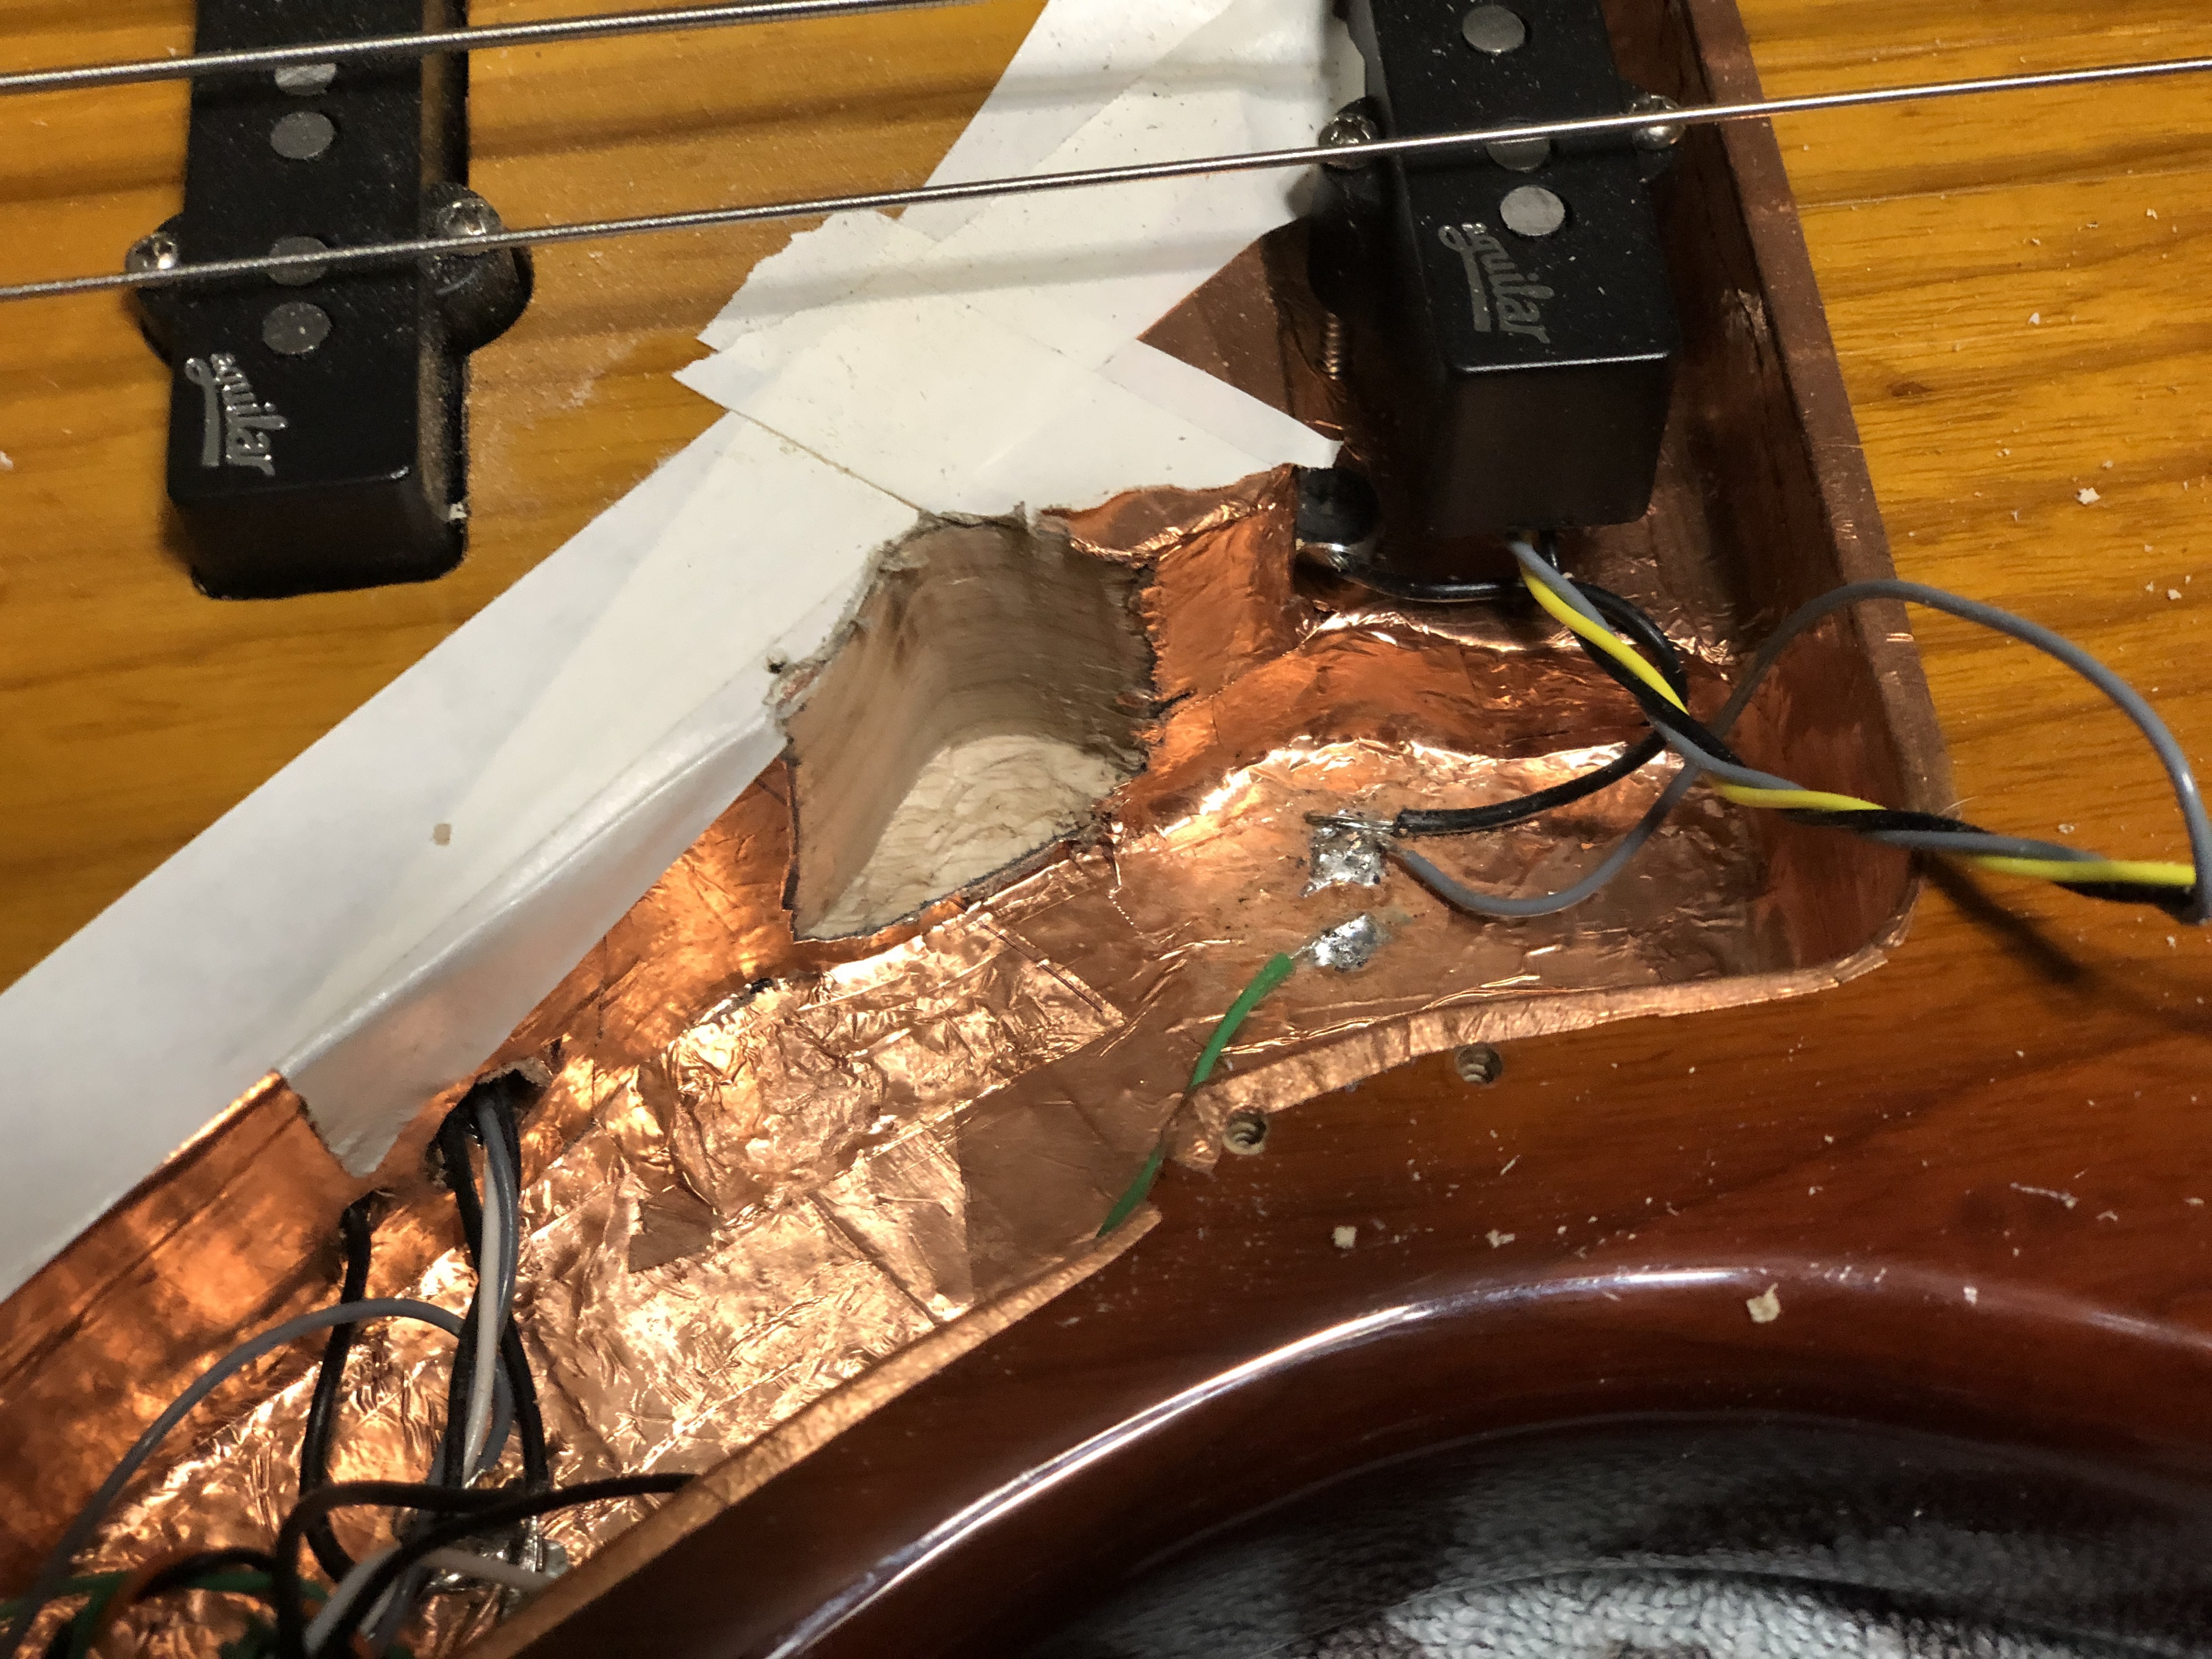
Here are some photos of the shielding process.


Now that I had finished the shielding portion for this bass rebuild I had to decide if I wanted to convert it into an active bass using the Aguilar OBP-3 preamp I have or not. There are plusses and minuses to each path. Keep the bass as is and know I can get some very quite recordings with it, but lacks versatility. Or, convert it to active and turn it into a new bass. Guess which one I choose. Well……it was the absolute hardest way, of course!


The Aguilar OBP-3 will add three bands of active boost/cut eq to the bass. This bass was never designed to be active so this is a custom modification to install this preamp, battery and controls. There is NO EXTRA ROOM inside the cavity of the bass so everything must be as streamlined, compact and efficient as possible. There is barely enough room for the wires and battery. Unfortunately I did not take photos of the build process of putting the OBP-3 preamp on the Jazz Bass control plate after cutting wires to length and soldering all connections. I would not recommend this project for a novice.


After some trial and trial and trial, I figured out how to get it all to fit inside the cavity only having to make a small modification to widen the inside of the cavity enough for the mini toggle switch used to select the mid range frequency adjusted by the mid potentiometer. A router bit on the Dremel tool made the job quick and easy (although a bit dirty).


Another unexpected issue with clearance (or lack thereof) during this install is that the potentiometers had to be installed as close to the control plate as possible to make room for the 9volt battery underneath. This made the posts on one of the potentiometers too long for the control knobs to sit close enough to the body. It just didn’t look like right to me so I VERY CAREFULLY used a cutoff wheel disk in the Dremel tool to shorten both outer and inner shafts of the concentric potentiometer. Now the control knobs look like a better install to me.


The Pot on the left needed to be shortened
One little mistake I made was installing a linear control potentiometer for the volume/volume (pickup blend). I should have used a logarithmic pot instead (B250k/B250k). I think that would make volume control more usable than the linear pot that seems to give all at once. I also want to install a couple capacitors to lower the mid frequency selection a bit and a couple resistors to help quiet the “click” while switching the frequency selector toggle switch. The potentiometer (that came in the kit) with the push/pull DPDT switch was not able to be installed due to size. A standard pot and mini toggle switch were used instead. I have some ideas to install an additional switch to enable a passive mode in case the battery dies during a critical situation (like a gig). I’ll have to do some thinking on that one to see if I can find a way to also control tone while in passive mode. That will be the tricky part with only three knobs on the mounting plate!

Notice toggle switch. 
Volume/Volume Concentric Pot to be replaced
I think the true question I need answered about my design idea is: Can I wire two split-coil pickups in series (like the S1 switch) and still have hum canceled? Or will wiring two hum-canceling (split-coil) pickups in series create hum? Hmmmmmm…..